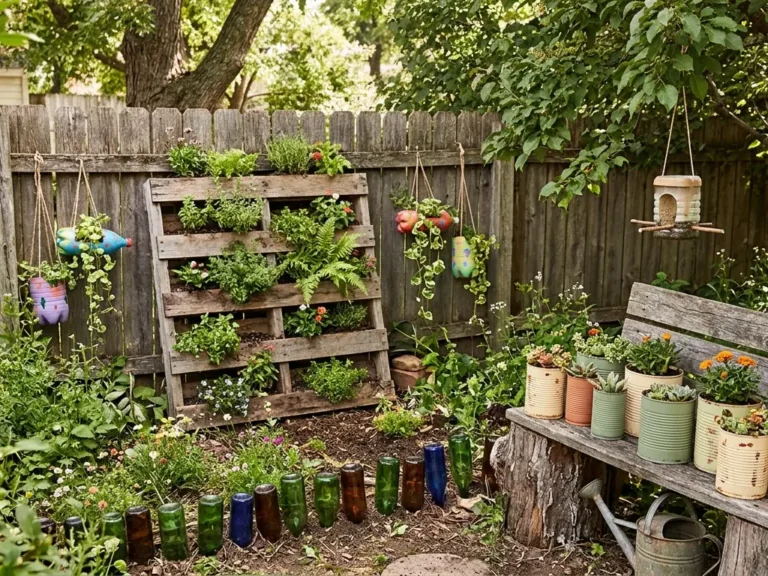
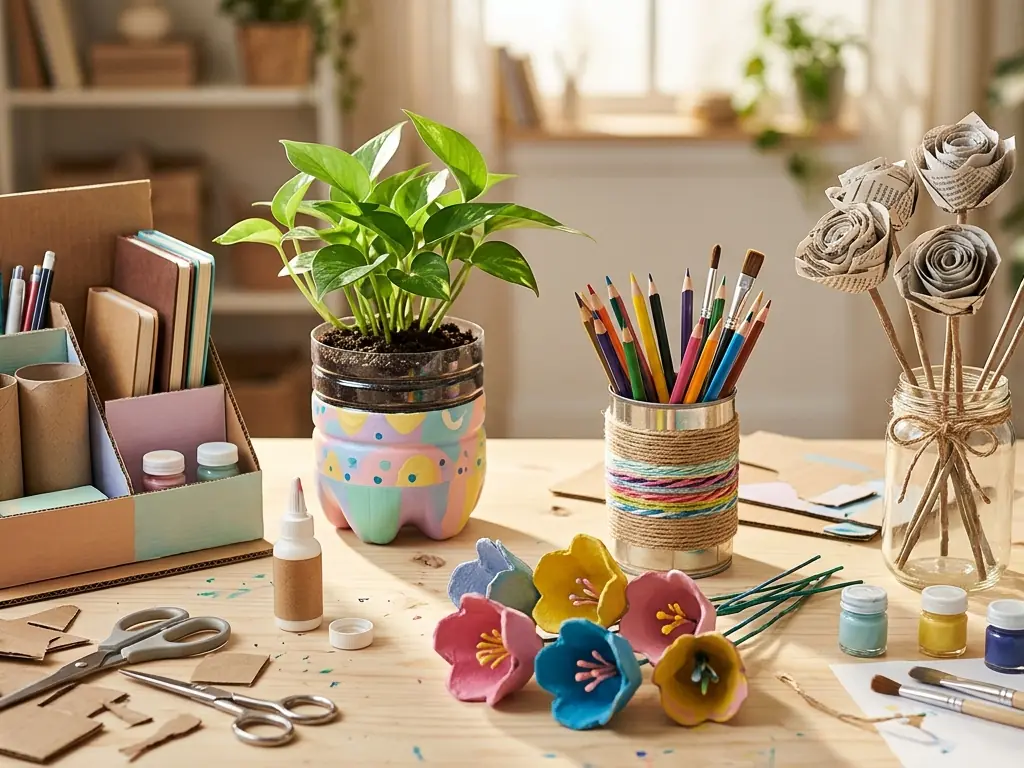
Learning how to make crafts from waste materials is an easy way to turn everyday items into something useful and attractive. Empty cardboard boxes, plastic bottles, tin cans, egg cartons, and old newspapers can become organizers, planters, flowers, and home decorations with a few basic supplies.
You do not need expensive tools or advanced crafting skills to get started. This guide shares five beginner-friendly projects with clear instructions, simple decorating ideas, and practical tips to help you reuse household materials with confidence.
Planning more projects? You may also like our craft from waste material ideas and waste material crafts for a creative home.
What You Will Make
These five projects use common materials that might otherwise be thrown away.
- Cardboard desk organizer: Keep pens, pencils, and small supplies in one place.
- Plastic bottle planter: Turn an empty bottle into a container for a small plant.
- Tin can pencil holder: Create a useful desk accessory with a decorative finish.
- Egg carton flowers: Make colorful flowers for handmade decorations.
- Newspaper flowers: Roll old newspaper into attractive paper blooms.
Most projects take around 20–45 minutes of active crafting, depending on the design and your experience. Painting and glue drying may require extra time.
Materials You Will Need
Gather the materials for the project you want to make. You do not need to buy everything on this list.
- Clean cardboard boxes or cereal boxes
- Empty plastic bottles
- Clean, smooth tin cans
- Clean cardboard egg cartons
- Old newspapers
- White craft glue or suitable craft adhesive
- Acrylic or washable craft paint
- Paintbrushes
- Colored paper or leftover wrapping paper
- Ribbon, string, or fabric scraps
- A small plant and potting mix for the planter
- Reused paper or cardboard for decorating
Use clean, dry materials. Avoid containers that held hazardous chemicals, and discard items with mold, food residue, or strong odors.
Tools You Will Need
- Scissors
- Ruler
- Pencil
- Paintbrushes
- Craft knife for adult use
- Hole punch, if needed
- Sandpaper or a nail file for rough edges
- Protective paper or an old tablecloth
Safety note: Adults should handle craft knives, cutting tools, and sharp metal edges. For children’s projects, prepare difficult cuts in advance and supervise the use of scissors and glue.
Before You Start
Clean and Sort Your Materials
Wash reusable plastic containers and cans when appropriate, then allow them to dry completely. Brush dust from cardboard and remove loose labels. Keep paper materials dry so they remain easy to cut and glue.
Choose the Right Project
Think about how you want to use the finished craft. A cardboard organizer is practical for a desk, while recycled flowers work well for room decorations or handmade gifts.
Prepare Your Workspace
Cover your table before painting or gluing. Place your materials within reach and keep a small container nearby for scraps. This makes the process easier and helps you avoid unnecessary mess.
How to Make Crafts from Waste Materials: 5 Easy DIY Projects
These five beginner-friendly tutorials show how to turn everyday waste into useful crafts and attractive decorations.
1. Make a Cardboard Desk Organizer
Difficulty: Easy · Active time: 30–45 minutes, plus drying time
A cardboard desk organizer is a practical way to reuse old packaging. It can hold pens, pencils, rulers, scissors, sticky notes, and other small supplies.
Choose sturdy cardboard from a shipping box or cereal box. Different-sized compartments help keep your desk tidy without buying a plastic organizer.
Materials
- Sturdy cardboard
- Craft glue
- Ruler and pencil
- Scissors
- Colored paper, paint, or leftover wrapping paper
Instructions
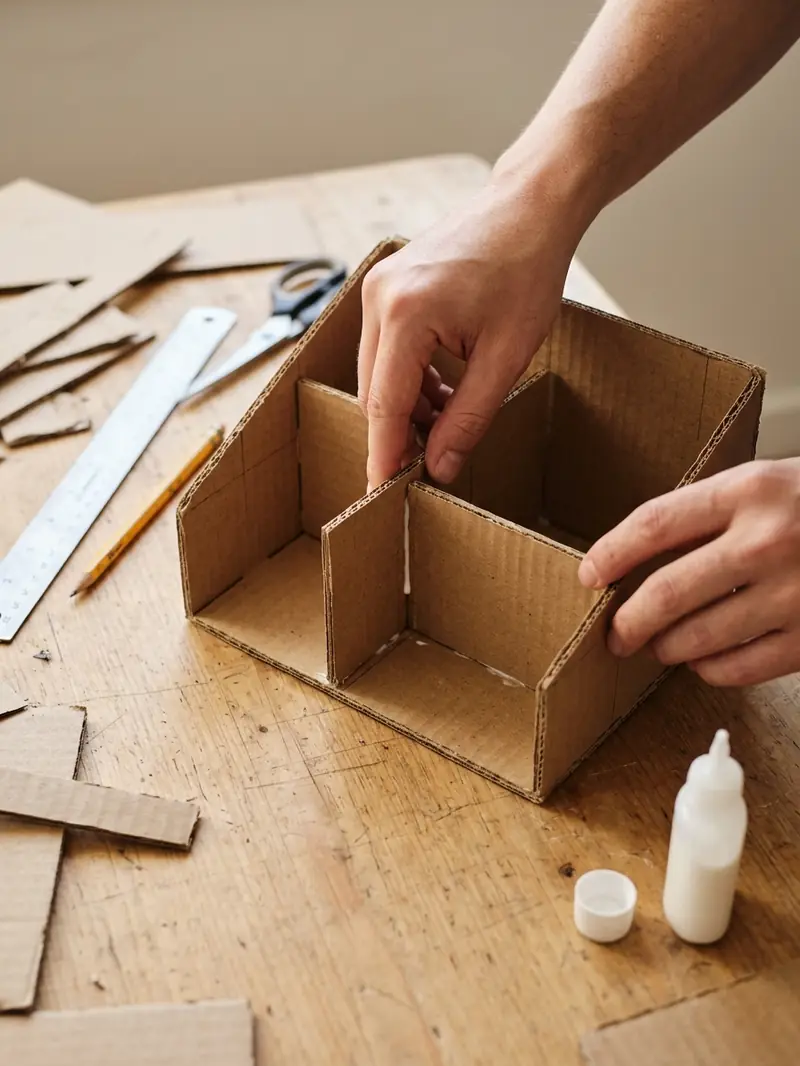
- Plan the compartments. Decide what you want to store. Sketch a simple design with two or three sections on paper.
- Cut the cardboard pieces. Cut a flat base and four walls. Add smaller pieces to create dividers. Keep the walls tall enough to hold your supplies.
- Assemble the base. Glue the walls around the base, holding each piece in place until it feels secure. Add the dividers inside.
- Strengthen the organizer. Attach small cardboard strips along weak joints. Let the glue dry before decorating.
- Decorate the outside. Cover the organizer with colored paper or paint it in your favorite colors. Allow painted surfaces to dry completely.
- Add your supplies. Place pens and other stationery into the compartments. If the organizer wobbles, reinforce the bottom with another cardboard layer.
2. Turn a Plastic Bottle into a Planter
Difficulty: Easy · Active time: 20–30 minutes, plus drying time
An empty plastic bottle can become a simple planter for small plants or seedlings. This project works well on a windowsill, balcony, or craft table.
A wide bottle gives you more room for soil and makes planting easier. You can paint the outside or leave it clear for a simple look.
Materials
- Clean plastic bottle
- Craft paint suitable for plastic
- Potting mix
- Small plant or seedling
- Decorative ribbon or paint, if desired
Instructions
- Prepare the bottle. Remove the label and wash the bottle. Let it dry before decorating.
- Cut the bottle. An adult should cut the bottle horizontally to create a planter opening. Keep the lower section as the container, and smooth or cover the cut edge safely.
- Add drainage holes. Make a few small holes in the bottom so excess water can escape. An adult should use a suitable tool for this task.
- Decorate the outside. Paint the bottle with a thin coat. Allow it to dry before adding another color or design.
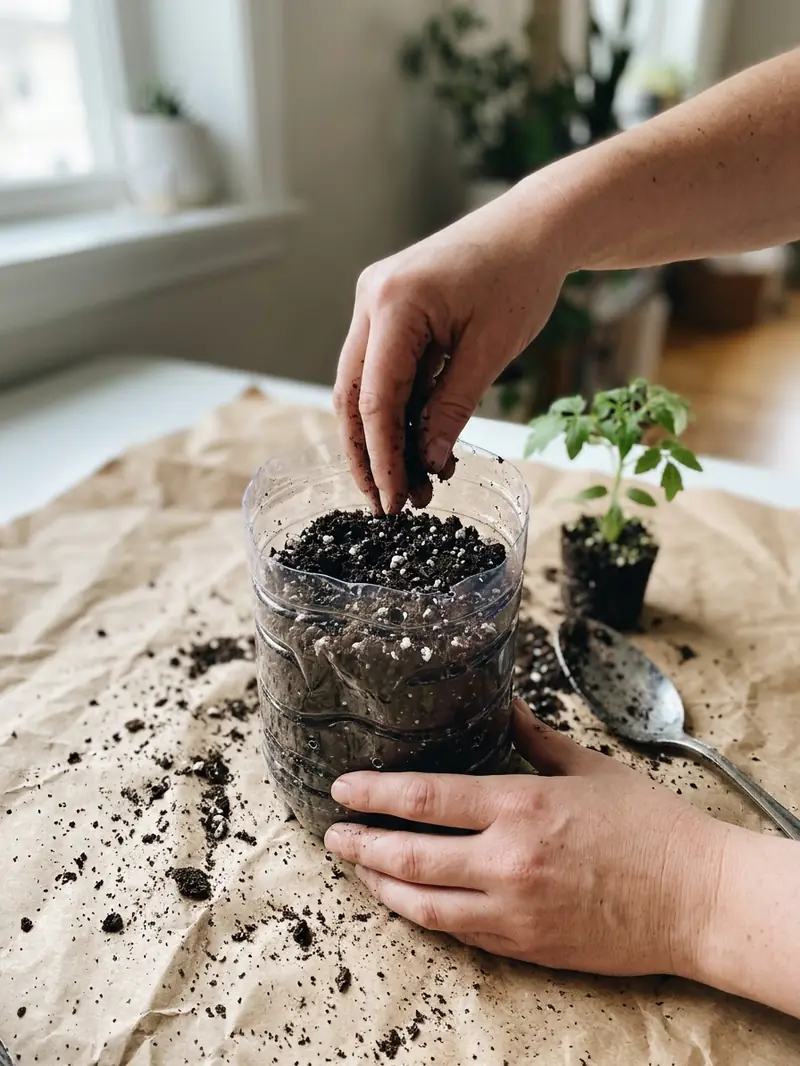
- Add the potting mix. Fill the container with suitable potting mix, leaving enough space for the plant.
- Plant and water. Place the seedling in the soil, gently cover the roots, and water lightly. Set the planter somewhere suitable for the plant’s light needs.
3. Create a Tin Can Pencil Holder
Difficulty: Easy · Active time: 20–30 minutes, plus drying time
A tin can pencil holder gives small stationery items a dedicated place. You can also use it to store paintbrushes, markers, or craft tools.
The key is preparing the can safely before decorating it. Use a can with no sharp rim, and have an adult inspect and prepare it before use.
Materials
- Clean empty tin can
- Craft paint or decorative paper
- Craft glue
- Ribbon or fabric scraps
- Paintbrush
- Sandpaper, if needed for safe edge preparation
Instructions
- Clean the can. Remove food residue and labels. Let the can dry completely.
- Check the rim. Make sure there are no sharp edges. If the rim is rough, ask an adult to prepare it safely or choose a safer container.
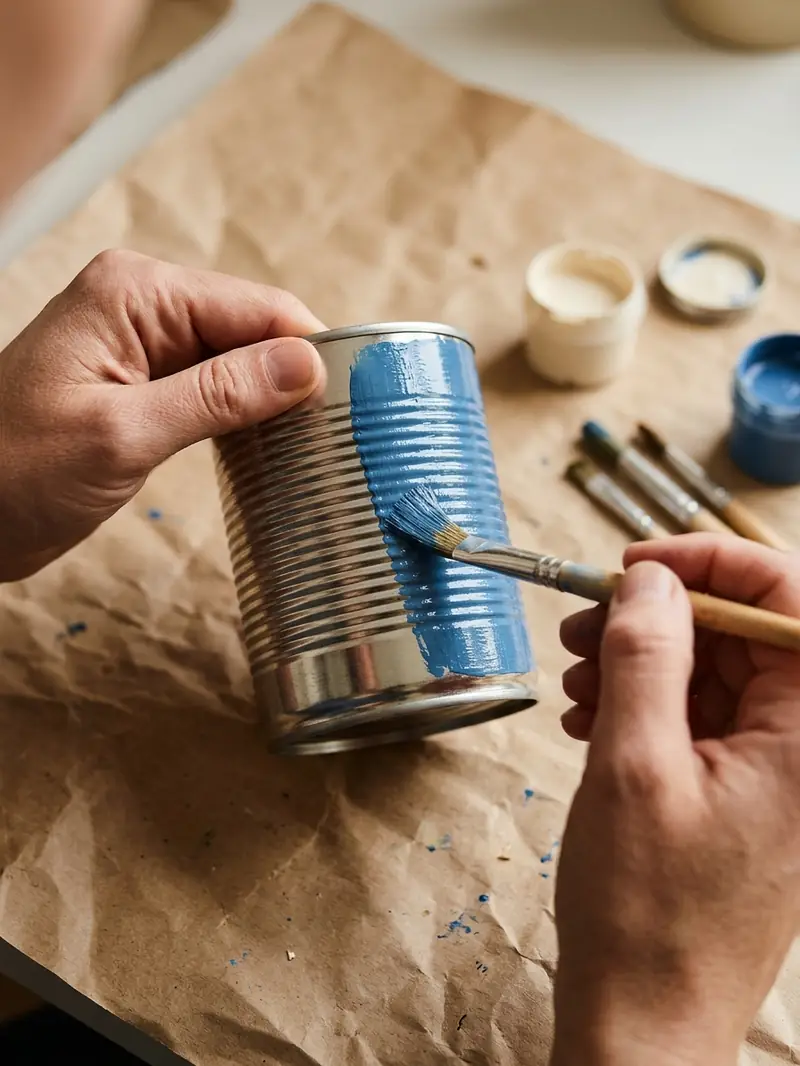
- Apply the base color. Paint the outside of the can with a thin, even coat. Leave the rim free of paint that could chip into the opening.
- Add decorations. Once dry, attach ribbon, paper shapes, or simple painted patterns. Keep decorations firmly attached.
- Let it dry. Follow the paint and adhesive drying instructions before adding supplies.
- Use your holder. Arrange pencils, markers, or paintbrushes inside. Place the can on a stable surface to prevent it from tipping.
4. Make Colorful Flowers from an Egg Carton
Difficulty: Easy · Active time: 25–40 minutes, plus drying time
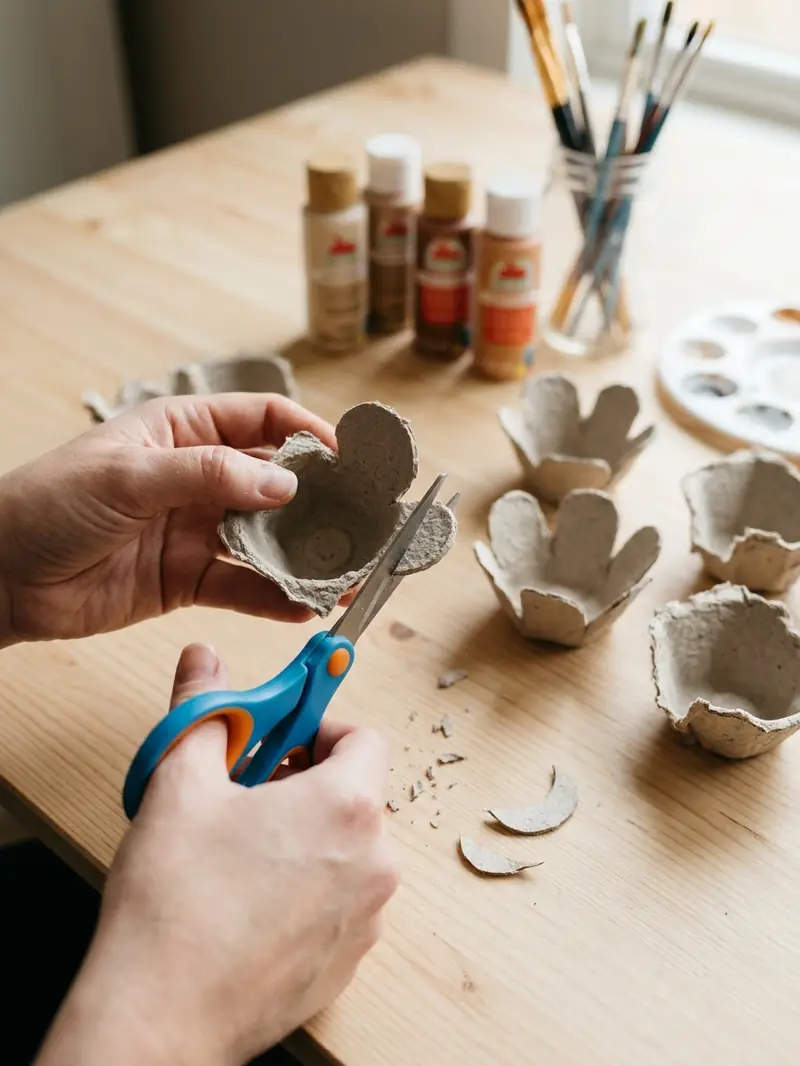
Egg carton flowers are a fun way to reuse cardboard packaging. Their raised cups make natural flower shapes, so you do not need complicated templates.
Arrange the finished flowers in a small vase, attach them to a handmade card, or use them in a seasonal display. Cardboard flowers also make a simple school craft.
Materials
- Clean cardboard egg carton
- Scissors
- Craft paint
- Paintbrushes
- Craft glue
- Green paper, paper straws, or clean craft sticks for stems
Instructions
- Separate the cups. Cut the egg carton into individual cup shapes. Trim away extra cardboard so each piece has a neat outline.
- Shape the petals. Carefully cut small rounded or pointed sections around the top of each cup. Keep the bottom connected so the flower holds its shape.
- Paint the flowers. Choose two or three colors. Paint each flower and allow it to dry fully.
- Prepare the stems. Cut green paper into narrow strips or use paper straws. Attach a stem to the underside of each flower with craft glue.
- Add flower centers. Glue a small circle of paper into the middle of each bloom. You can also use a small piece of clean scrap cardboard.
- Arrange the flowers. Place them in a recycled jar or small vase. Adjust the stems so the flowers sit at different heights.
5. Make Decorative Flowers from Old Newspaper
Difficulty: Easy to moderate · Active time: 30–45 minutes
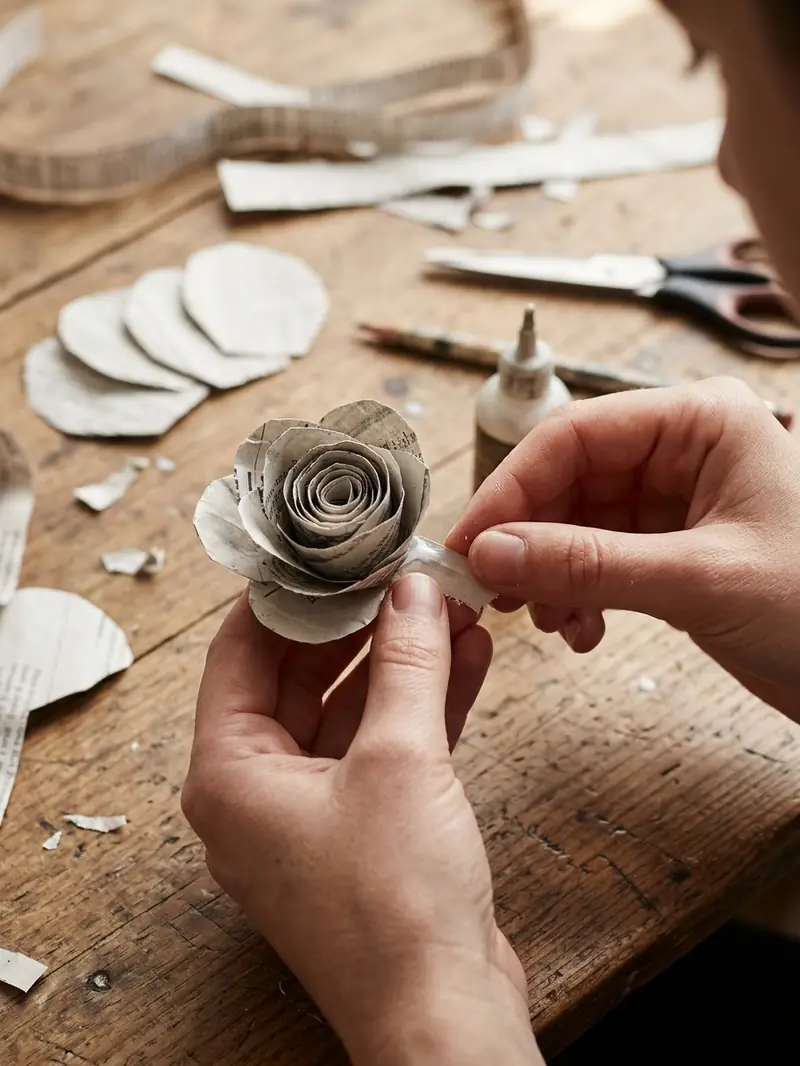
Old newspaper can be transformed into lightweight flowers for table decorations, gift wrapping, or wall displays. The printed paper creates a natural black-and-white pattern, while a little paint can add color.
This project is a good choice when you want to reuse paper scraps without needing many supplies. It also allows you to experiment with different petal shapes and flower sizes.
Materials
- Old newspaper
- Scissors
- Craft glue
- Pencil
- Thin paper strips for stems
- Paint or ribbon, optional
Instructions
- Cut the newspaper. Cut the paper into strips and petal shapes. Use wider strips for larger flowers and smaller pieces for compact blooms.
- Shape the petals. Wrap a petal strip loosely around a pencil to give it a gentle curve. Remove the pencil carefully so the paper keeps its shape.
- Make the flower center. Roll a narrow newspaper strip into a tight coil. Add a small amount of glue to hold it together.
- Attach the petals. Glue the curved petals around the center, overlapping them slightly. Continue until the flower looks full.
- Create a stem. Roll a narrow strip of newspaper tightly around a thin stick or pencil. Glue the edge to keep it from unrolling, then attach the stem to the flower.
- Finish the design. Leave the newspaper natural or add a light wash of paint. Allow the glue to dry before arranging the flowers in a vase.
Tips for Better Results
Choose Materials That Hold Their Shape
Sturdy cardboard works better for organizers than thin, flexible packaging. For flowers, cardboard egg cartons and newspaper are easy to cut and shape.
Let Each Layer Dry
Paint and glue need enough time to set. If you decorate too soon, colors may smudge and attached pieces may shift.
Test Your Paint First
Some paints do not stick well to smooth plastic or metal. Test a small hidden area before painting the entire surface. Use a suitable primer if the paint instructions recommend one.
Reinforce Functional Crafts
If a cardboard organizer will hold heavy items, add another layer to the base. Secure dividers well so they do not bend or fall over during daily use.
Keep a Reusable Craft Box
Store clean cardboard, newspaper, paper scraps, and safe containers in a dry box. Sorting materials by type makes it easier to choose a project later.
Common Mistakes to Avoid
Using dirty materials
Food residue and moisture can cause unpleasant smells or weaken paper and cardboard.
Fix: Clean reusable containers where appropriate and let them dry fully before crafting.
Adding too much glue
Excess glue can make cardboard soggy and cause paper flowers to lose their shape.
Fix: Apply a thin layer and press pieces together gently until they hold.
Painting before assembling
Some projects are easier to assemble first, while others need separate pieces painted before attachment.
Fix: Plan the order based on the project. For egg carton flowers, paint the shaped pieces before attaching the stems.
Making cardboard walls too thin
Thin walls can bend when the organizer holds several items.
Fix: Use sturdy cardboard or reinforce the walls and base with extra layers.
Ignoring sharp edges
Cut metal and plastic can have rough edges that may cause injury.
Fix: Have an adult prepare containers and inspect every edge before use. Never let children handle sharp cans or craft knives.
Easy Ways to Customize Your Waste Material Crafts
Try Different Color Schemes
Use soft pastels for a calm look, bright colors for children’s crafts, or neutral shades for simple home decor. Matching colors can make different recycled projects look like part of one collection.
Add Fabric and Ribbon Scraps
Use leftover fabric to cover cardboard surfaces or add ribbon around a pencil holder. Secure all decorations firmly so they do not peel away with use.
Make Seasonal Decorations
Turn egg carton flowers into spring decor, paint a tin can in festive colors, or make newspaper flowers for a handmade gift. You can change the design without changing the basic materials.
Personalize Gifts
A recycled desk organizer or decorated pencil holder can make a useful handmade gift. Choose colors that suit the recipient and keep the finish neat and durable.
Frequently Asked Questions
What crafts can you make from waste materials?
You can make desk organizers from cardboard, planters from plastic bottles, pencil holders from cans, flowers from egg cartons, and decorations from old newspapers. The best choice depends on the materials you already have.
How do you make crafts from waste materials at home?
Start by collecting clean, dry household items. Choose a simple project, gather basic tools, prepare the materials, and follow the instructions in order. Finish by decorating the craft and allowing glue or paint to dry.
Which waste materials are best for beginners?
Cardboard, newspaper, paper rolls, and clean plastic bottles are useful starting points. They are common household items and can be turned into many different crafts with basic supplies.
Can children make crafts from waste materials?
Yes. Children can paint cardboard, arrange paper flowers, and decorate prepared containers with adult supervision. Adults should handle craft knives, sharp metal edges, and difficult cutting tasks. Keep small parts away from young children who may put them in their mouths.
How can I make recycled crafts look more attractive?
Use a simple color scheme, trim uneven edges, apply paint in thin layers, and keep glue marks hidden where possible. A neat finish can make an everyday container look more decorative.
Do I need to buy special supplies for recycled crafts?
No. Many projects use household materials and basic supplies such as scissors, glue, paint, and paper scraps. You may need a specific paint or adhesive for some surfaces, but you can often start with what you already own.
Conclusion
Learning how to make crafts from waste materials can help you turn everyday packaging into useful organizers, planters, and handmade decorations. Start with one simple project, use clean materials, and experiment with colors and designs that suit your space.
Ready to make something creative? Choose a project, gather your recycled materials, and give them a new purpose. Explore more DIY inspiration in CraftedMode’s craft and home decor categories.
Keep exploring CraftedMode for more easy DIY crafts for home, creative handmade home decor, fun crafts for kids, simple paper craft ideas, and handmade gift ideas.