Working with air-dry clay is one of the most relaxing and rewarding ways to explore your creative side. You do not need a kiln or specialized pottery wheels to create beautiful handmade pieces for your home.
This guide shares simple, beginner-friendly projects that use basic household tools. Whether you want to make sweet gifts or stylish decor, these ideas will help you get started right away.
Planning more projects? You may also like our air dry clay crafts for beginners and handmade gift ideas.
24 Easy Air Dry Clay Projects for Beginners to Make at Home
Explore this curated list of creative clay ideas designed specifically for crafters starting out with air-dry materials.
1. Simple Ring Dish
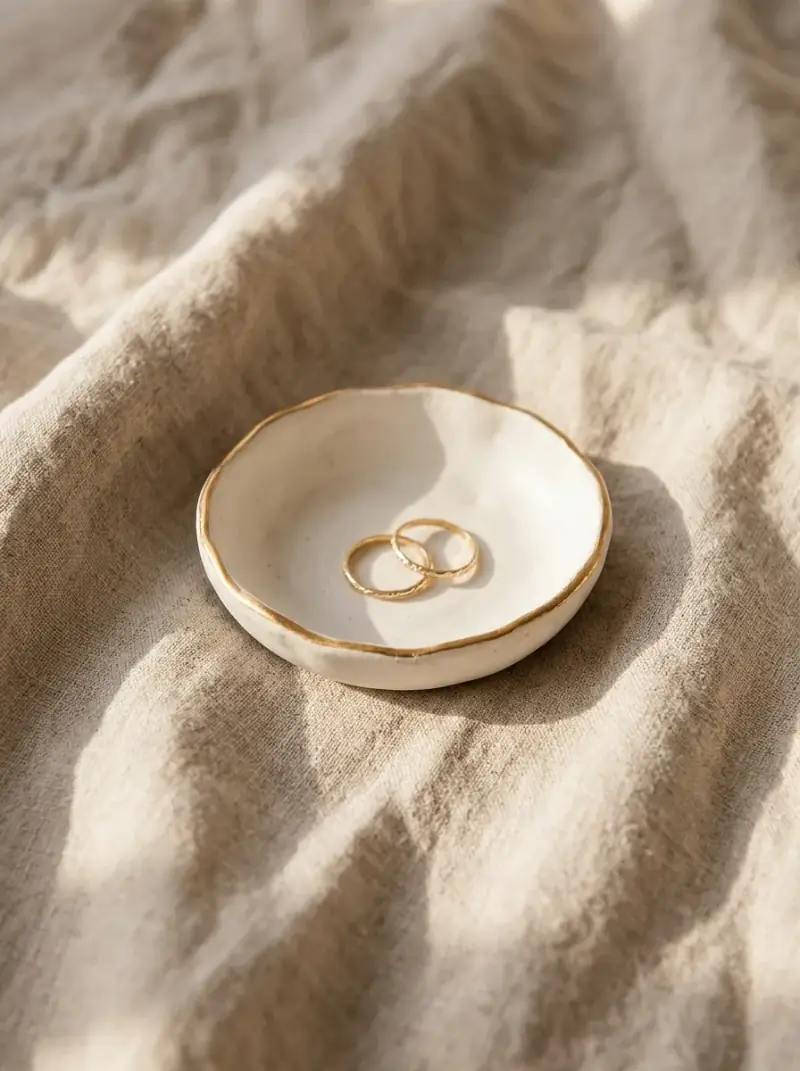
A small ring dish is the ultimate beginner clay project. Roll out a small ball of clay, flatten it gently, and shape the edges upward into a shallow bowl.
Smooth any cracks with a damp finger. Once dry, paint the piece with acrylic colors and seal it with a clear coat.
2. Trinket Bowl with Leaf Imprint
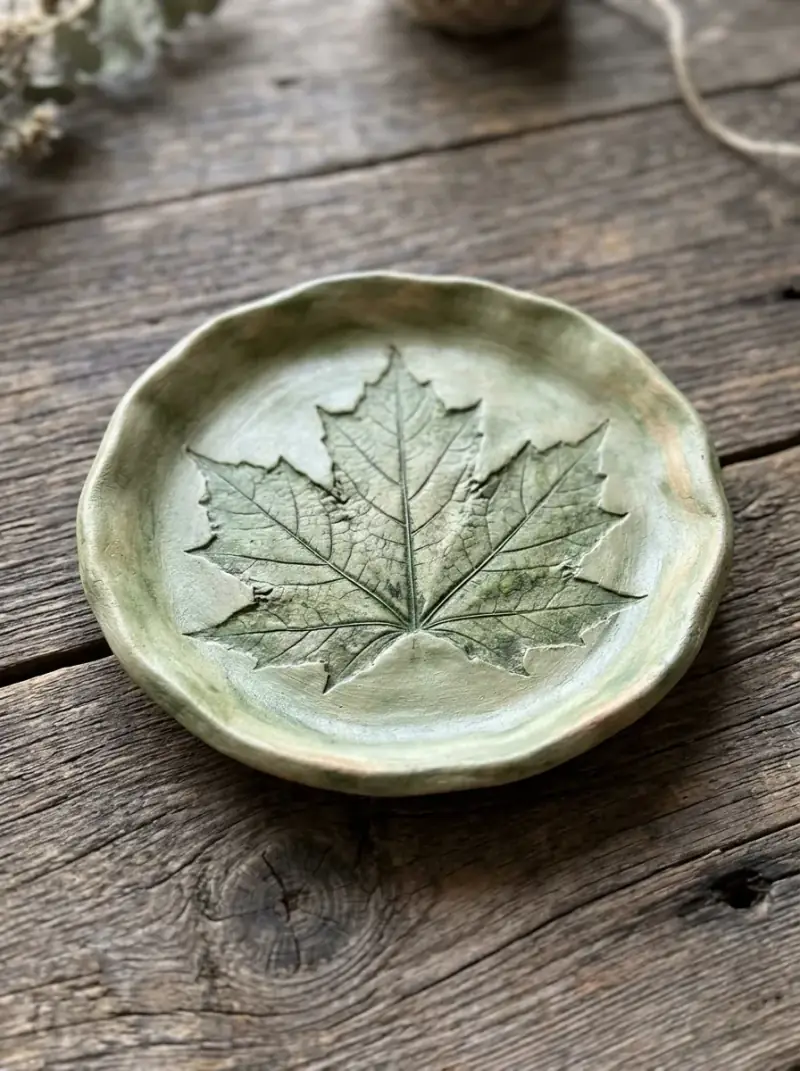
Press a real leaf firmly into rolled clay before cutting around its edges or shaping it into a small bowl. The leaf leaves a gorgeous, organic texture behind.
This project looks stunning with earthy neutral paint washes. Use it on your entryway table to hold loose change or keys.
3. Minimalist Clay Bead Garland
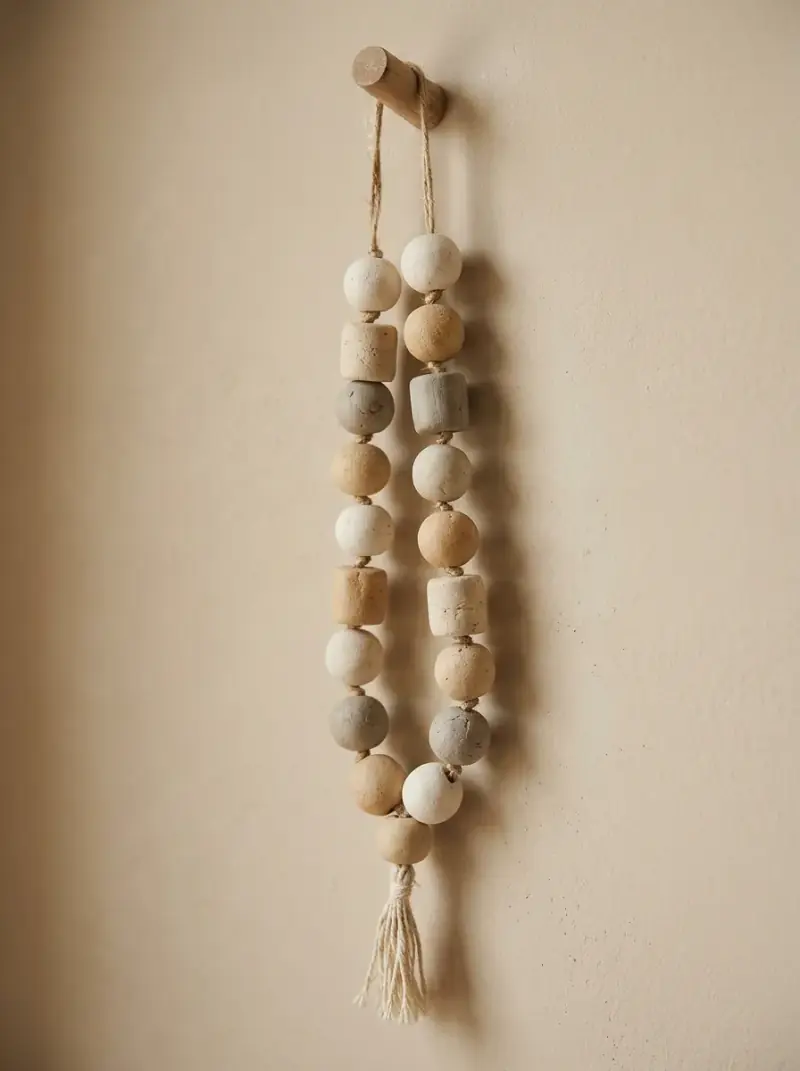
Roll small bits of clay between your palms to form round beads of different sizes. Use a toothpick to poke holes through the center before the clay dries.
Thread your finished beads onto sturdy cotton twine once fully cured. Drape the garland across a shelf or mantel for a cozy look.
4. Marbled Plant Pot
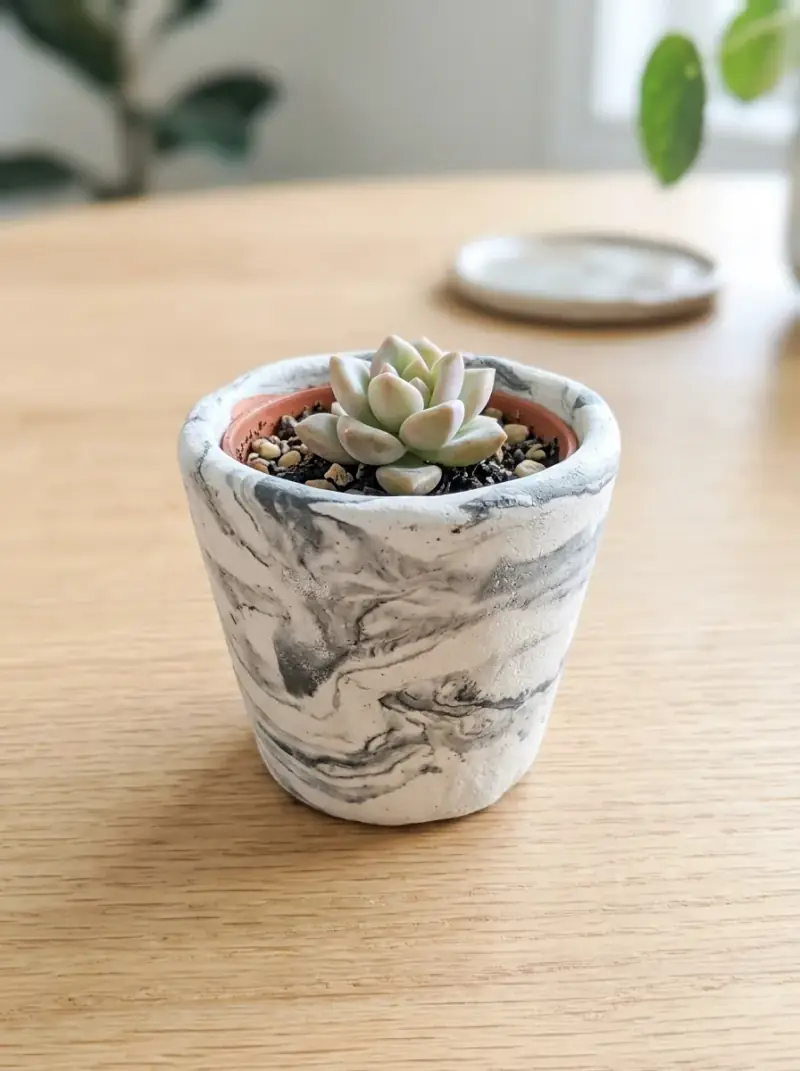
Twist a strip of white clay together with a small strip of grey clay to create a cool marbled effect. Wrap this combined sheet around a small plastic nursery pot.
Press the seams together gently to secure the clay. Let it dry completely before placing your favorite small plant inside.
5. Modern Wall Hanging
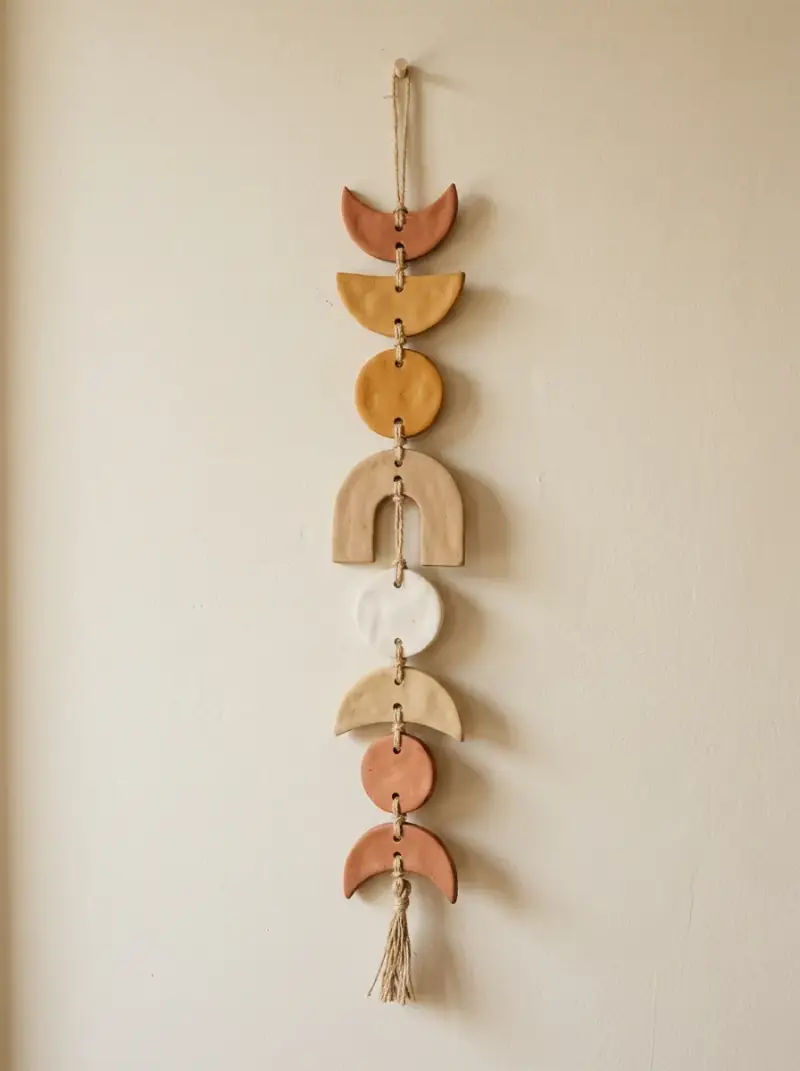
Cut simple geometric shapes out of flattened clay using a craft knife or cookie cutters. Make small holes at the top and bottom of each shape.
Connect the cured pieces with thin leather cord or yarn. Hang the finished piece in your bedroom or living room.
6. Geometric Coasters
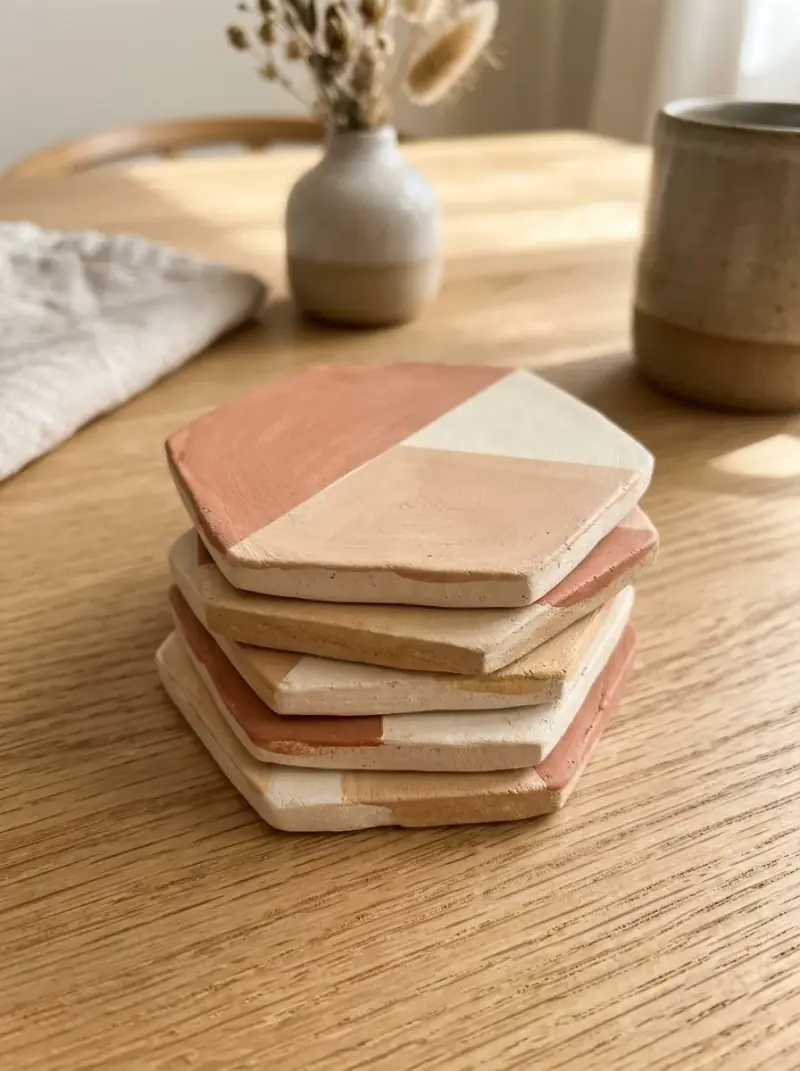
Roll your clay to an even thickness of about one-quarter inch. Use a sharp blade or a stencil to cut out clean hexagons or squares.
Sand the edges gently once dry to ensure a smooth finish. Seal the surface with a waterproof varnish to protect against drink condensation.
7. Cute Ring Cone Holders
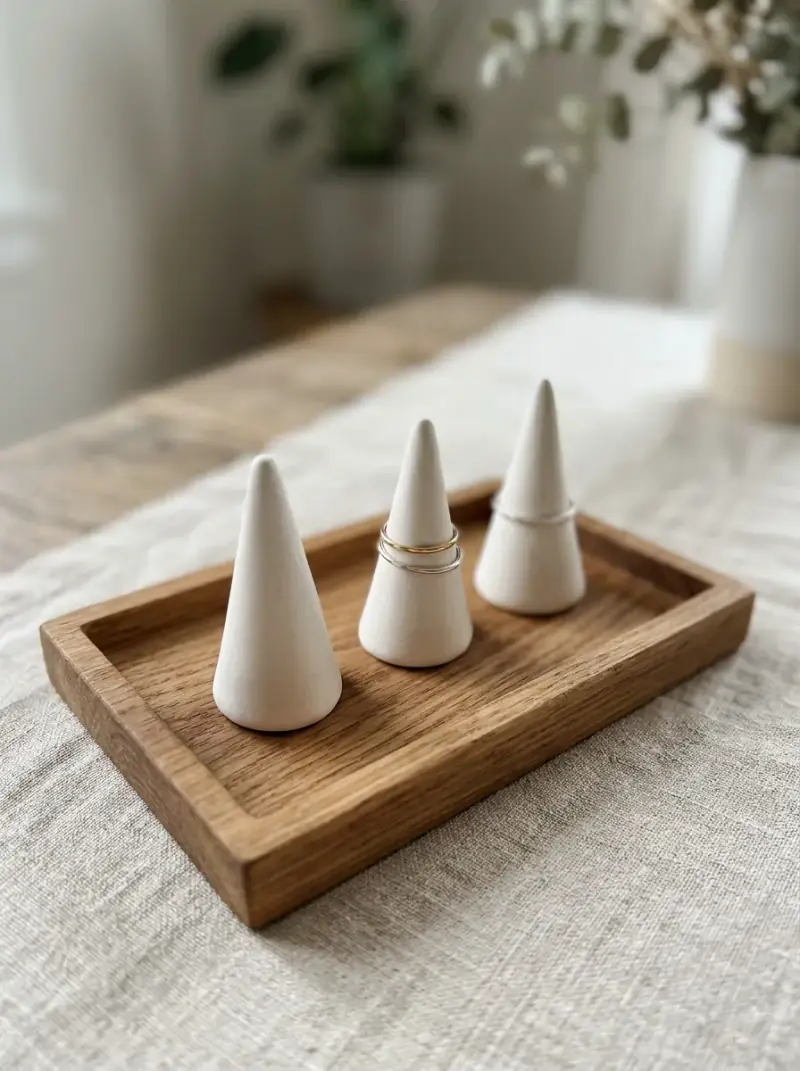
Shape small pieces of clay into simple cones using your fingers. Stand them upright on a flat surface so the bases remain completely stable.
These cones hold multiple rings neatly on your vanity. Paint them in pastel shades to match your bedroom decor.
8. Pressed Flower Trinket Tray
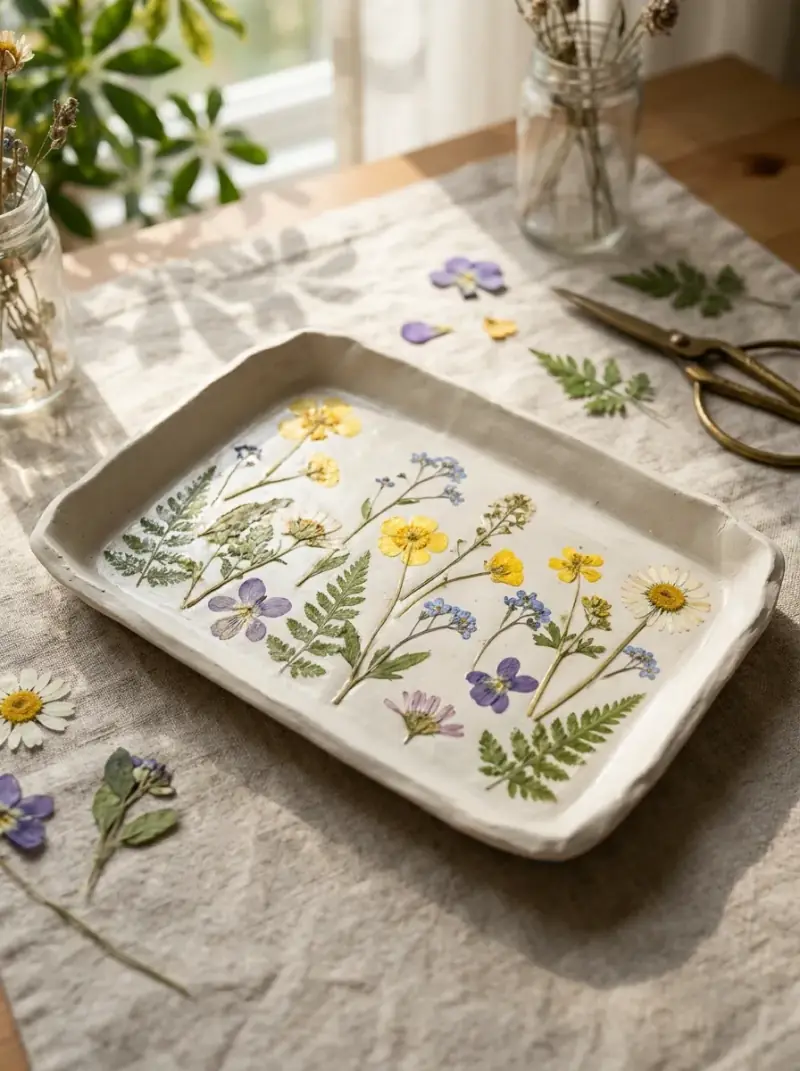
Roll out a smooth rectangular slab of clay. Press dried flowers or delicate leaves gently into the top layer using a rolling pin.
Curve the edges upward slightly to form a shallow tray. This makes a thoughtful handmade gift for friends and family.
9. Sweet Ceramic-Style Spoon Rest
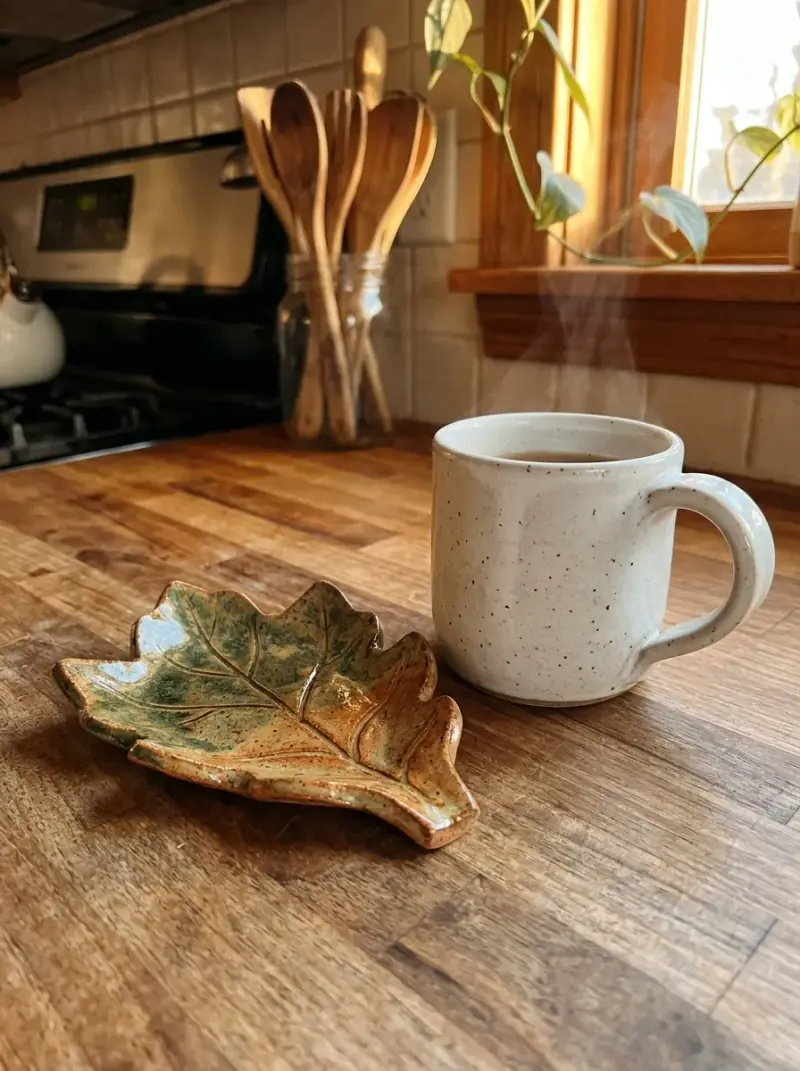
Form a flattened oval or teardrop shape to cradle messy kitchen spoons. Create a slight indentation in the middle so spoons stay put.
Paint your finished spoon rest with food-safe acrylics. Always apply a waterproof sealant since this piece lives near water.
10. Mini Cactus Figurines
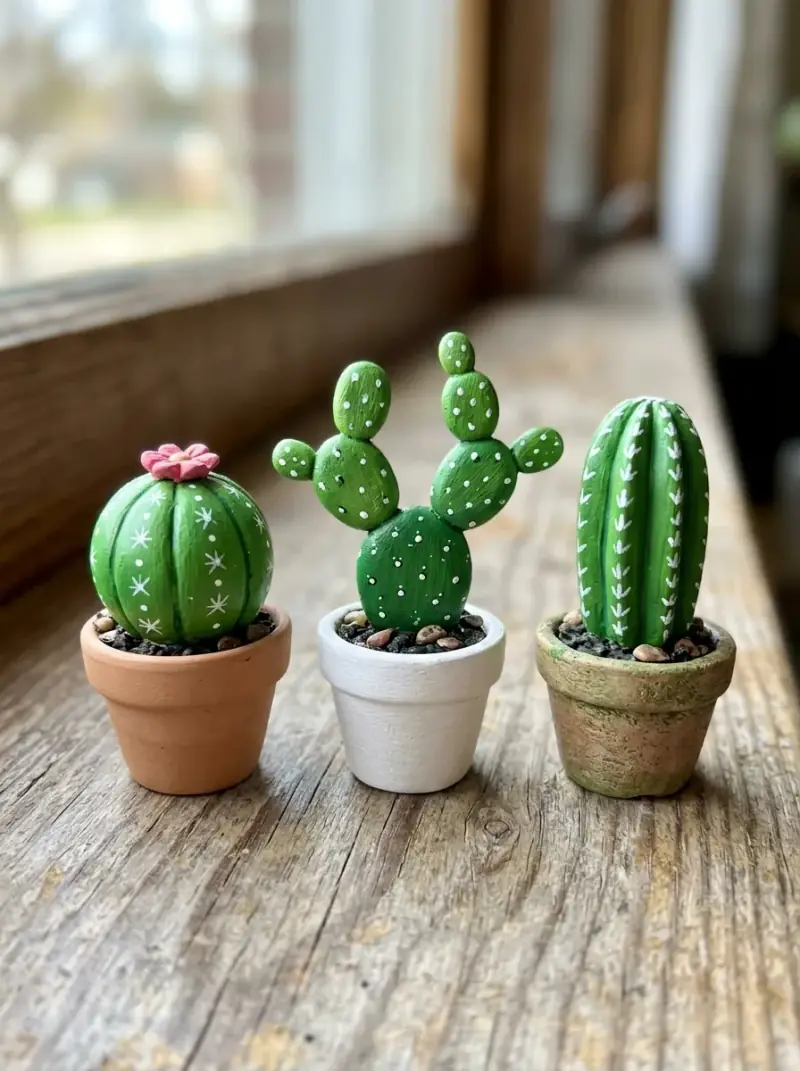
Sculpt simple cactus arms and bodies using your hands. Score the clay surface with a tool to create ribbed texture details.
Glue the dried cactus pieces into tiny bottle caps or handmade mini pots. They add a playful touch to desk spaces.
11. Hanging Air Plant Holder
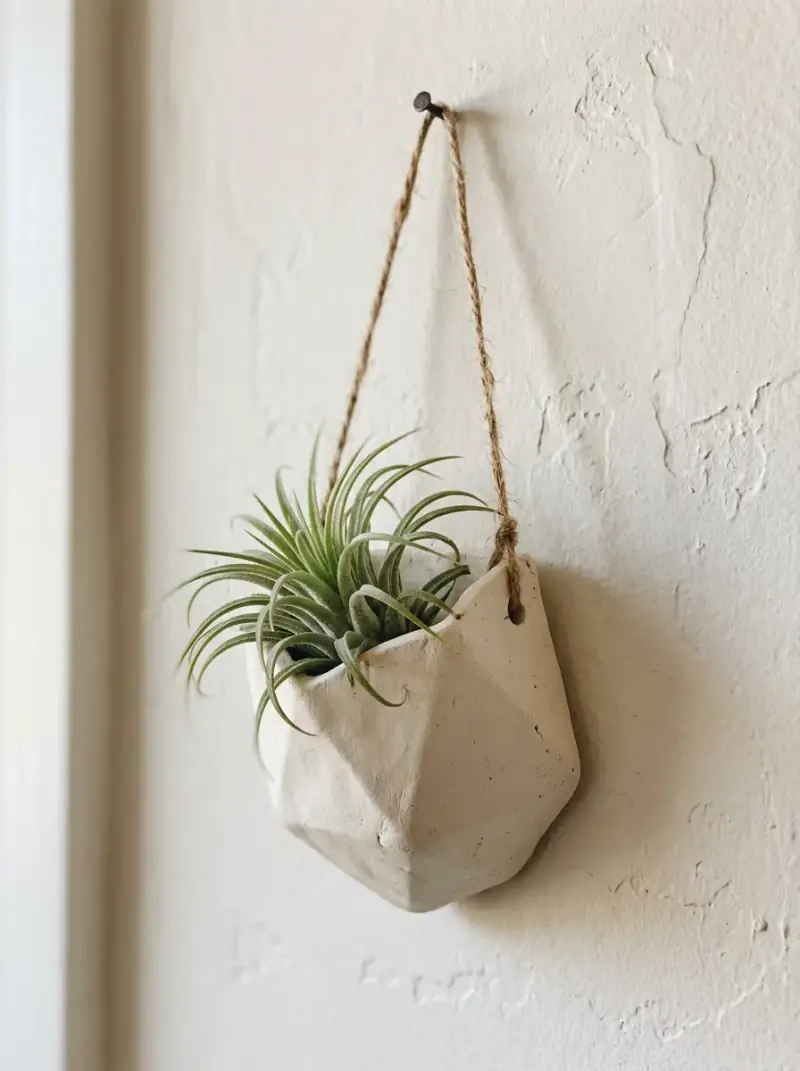
Fold a flat piece of clay into a small pocket shape that leaves the top open. Punch two holes near the top corners for hanging cord.
Allow the pocket to dry thoroughly in a well-ventilated space. Tuck a small air plant inside for a zero-maintenance green display.
12. Initial Gift Tags
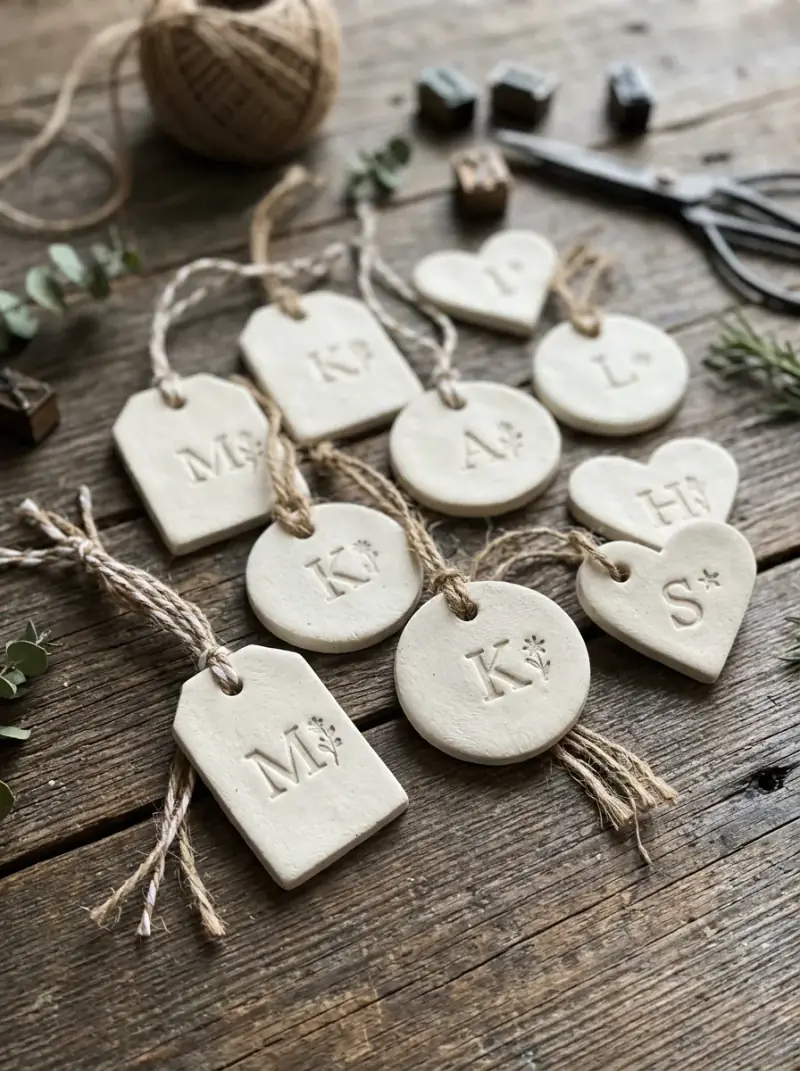
Cut small rectangles or circles from rolled clay. Use alphabet stamps to press your recipient’s initials into the center.
Punch a hole at the top using a straw before drying. Use these reusable tags on birthday presents and holiday gifts.
13. Cozy Tealight Candle Holder
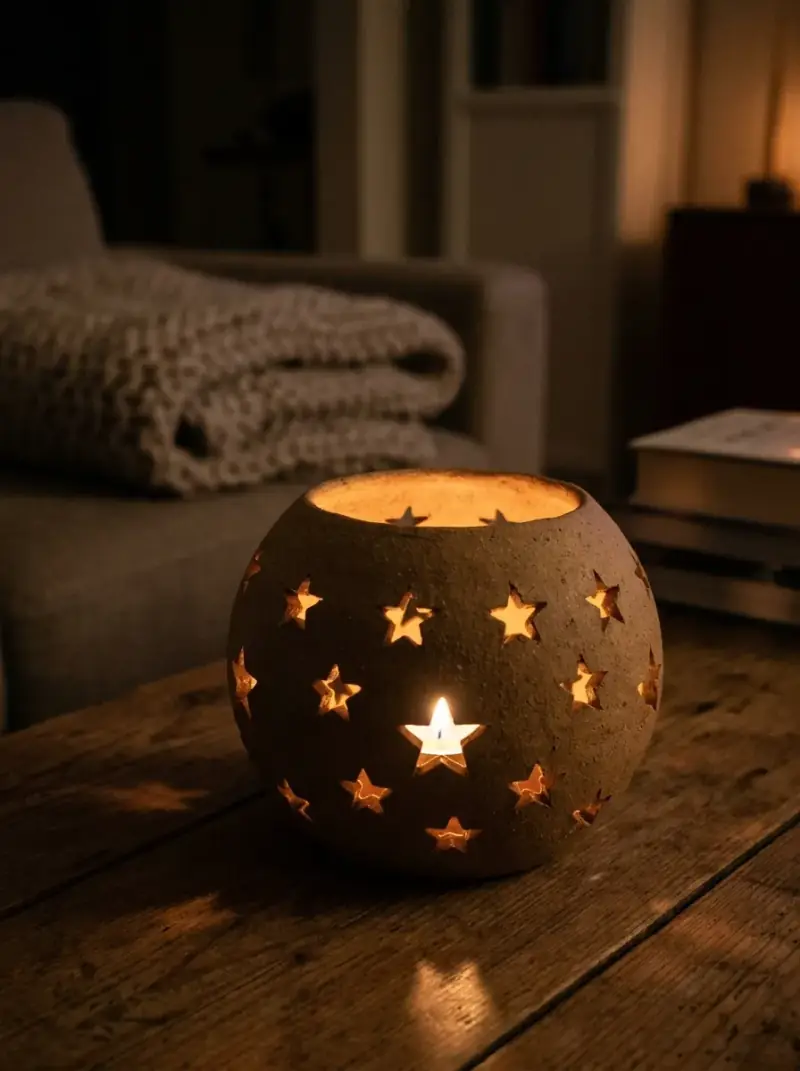
Roll a thick ball of clay and flatten the bottom. Press a tealight candle into the top to create an exact indentation for the metal cup.
Use a toothpick to carve fun star or dot patterns around the sides. The candlelight shines through the cutouts beautifully.
14. Starry Night Mobile
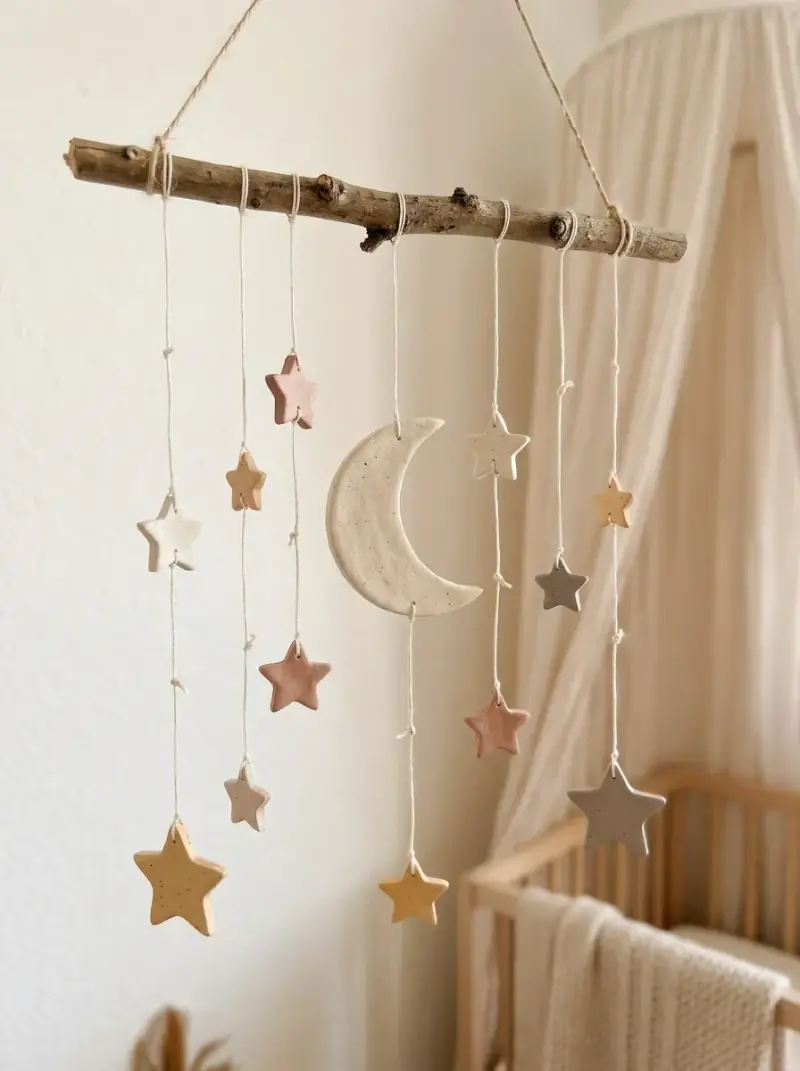
Cut out multiple star shapes using a small metal cookie cutter. Make a single hanging hole near the top of every star.
Tie the clay shapes to a fallen tree branch at varying heights. Hang the mobile above a crib or cozy reading nook.
15. Speckled Mug Rug
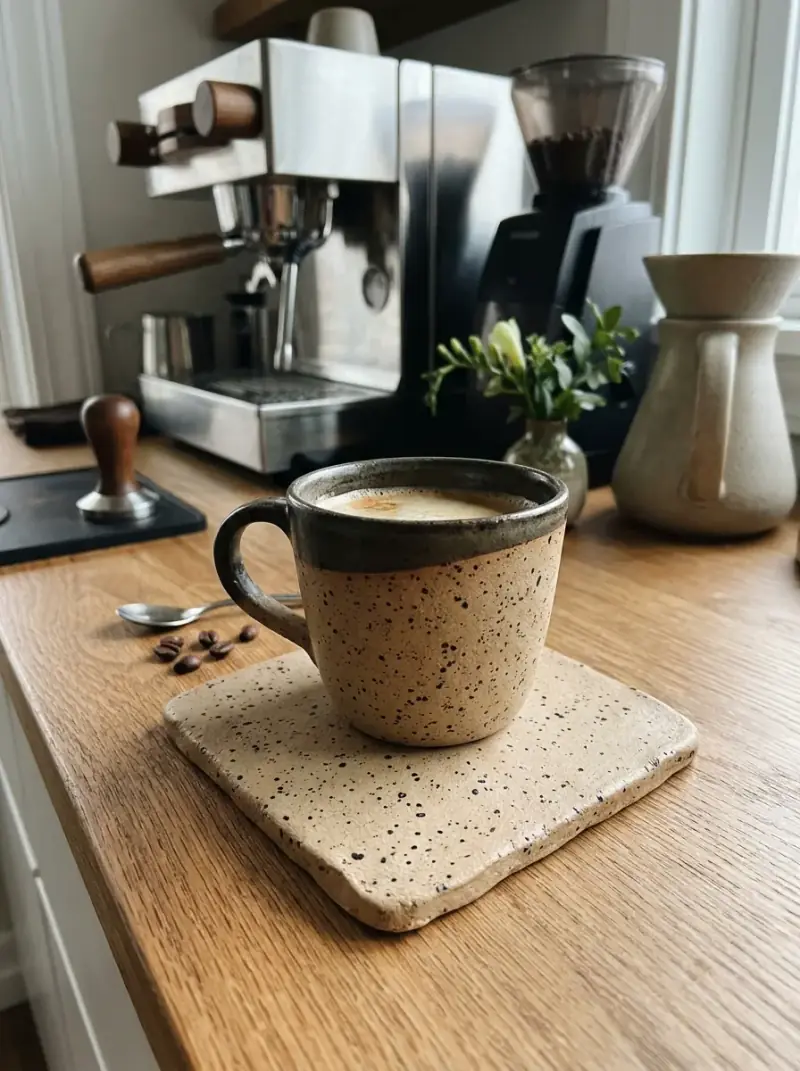
Roll out a thick square slab of clay for your morning coffee mug. Paint the dried surface with a soft base color.
Dip an old toothbrush into dark brown paint and flick the bristles to create speckled dots. Finish with a protective clear coat.
16. Clay Photo Holder Blocks
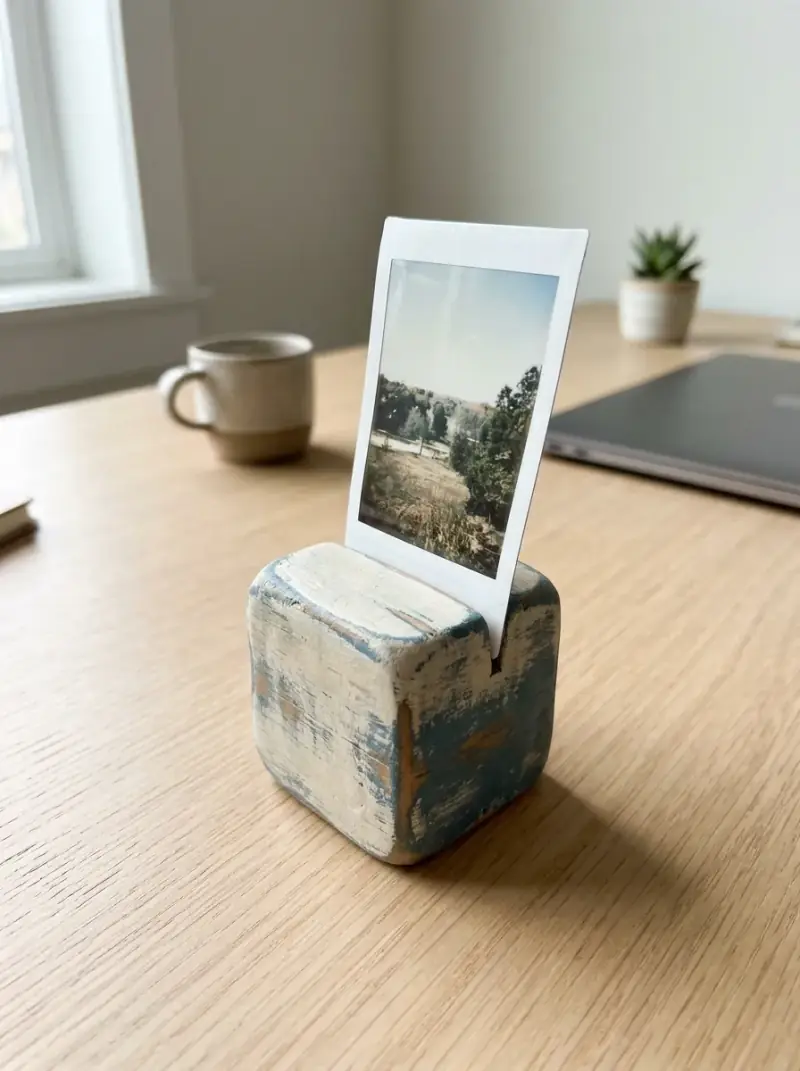
Shape a thick rectangular block of clay that can stand steadily on its own. Cut a narrow vertical slit across the top while the clay is soft.
Paint the block in a solid accent color once dry. Slip your favorite instant photo or recipe card into the slot.
17. Little Animal Ring Holders
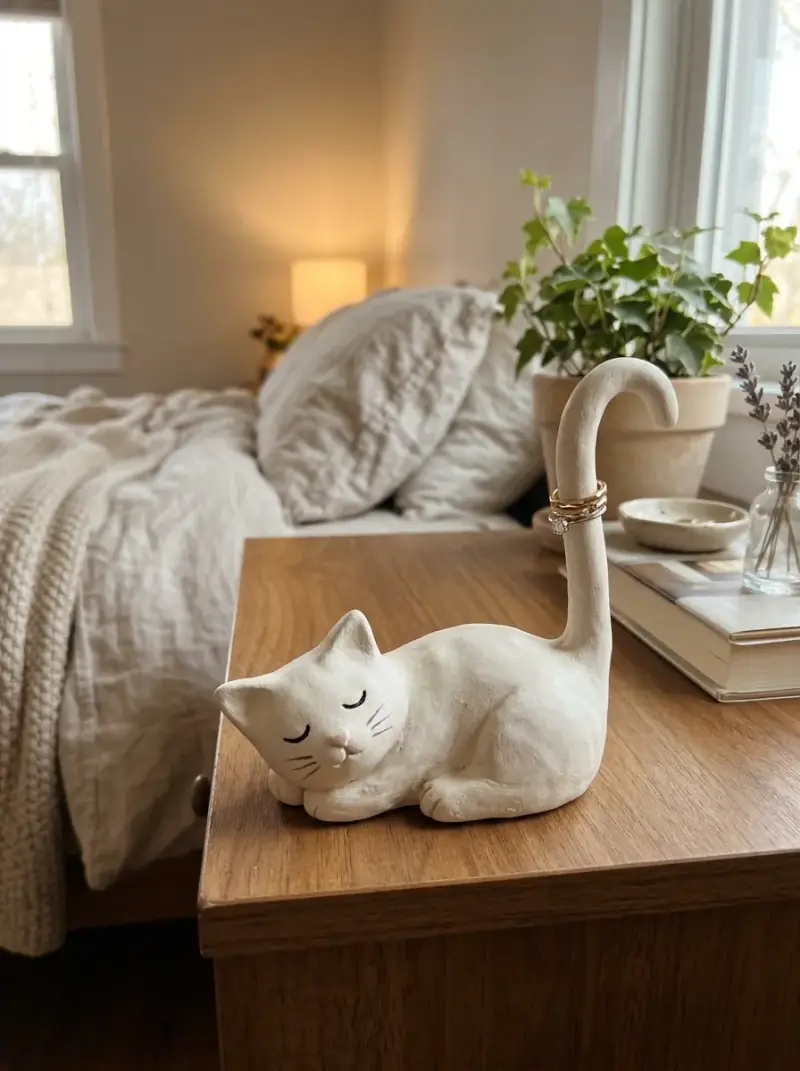
Sculpt a simple animal silhouette like a cat or bear lying flat. Shape the tail so it curves upward to securely hold your rings.
Add fine details with a fine-tip black marker or acrylic paint. This is a wonderful weekend crafting project for animal lovers.
18. Abstract Face Wall Art
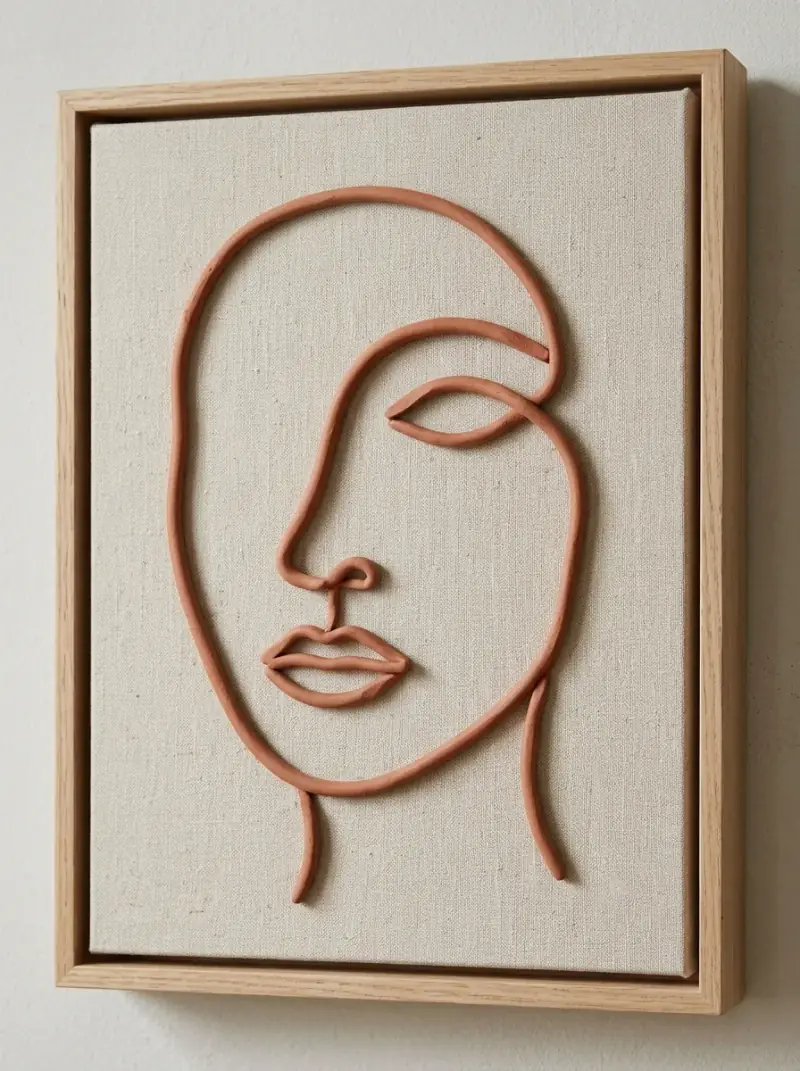
Roll thin, even snakes of clay between your fingers. Bend and shape the clay coils into abstract continuous line faces.
Press the clay shapes onto a backing board with a bit of glue once dry. Frame your handmade artwork for an instant gallery wall upgrade.
19. Custom Bookmark with Tassel
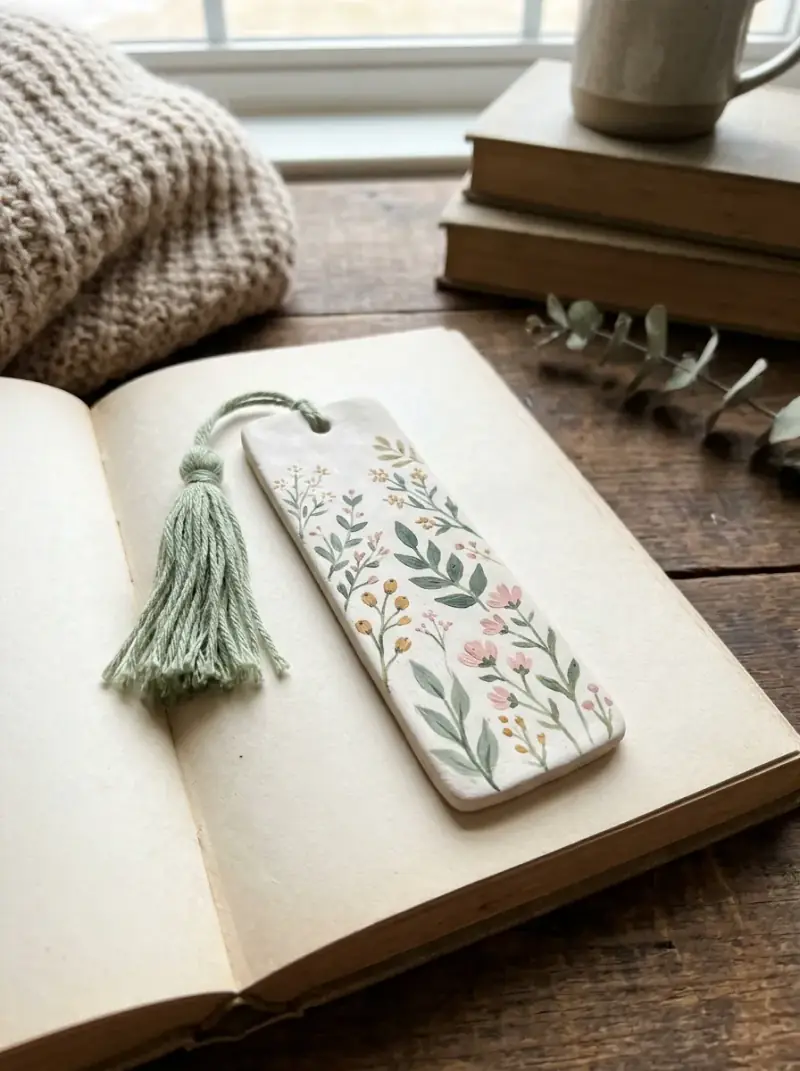
Cut a long, thin rectangle from your rolled clay. Punch a clean hole near the top edge for your bookmark tassel.
Paint the smooth surface with botanical motifs or stripes. Thread a matching fabric tassel through the hole to finish.
20. Simple Napkin Rings
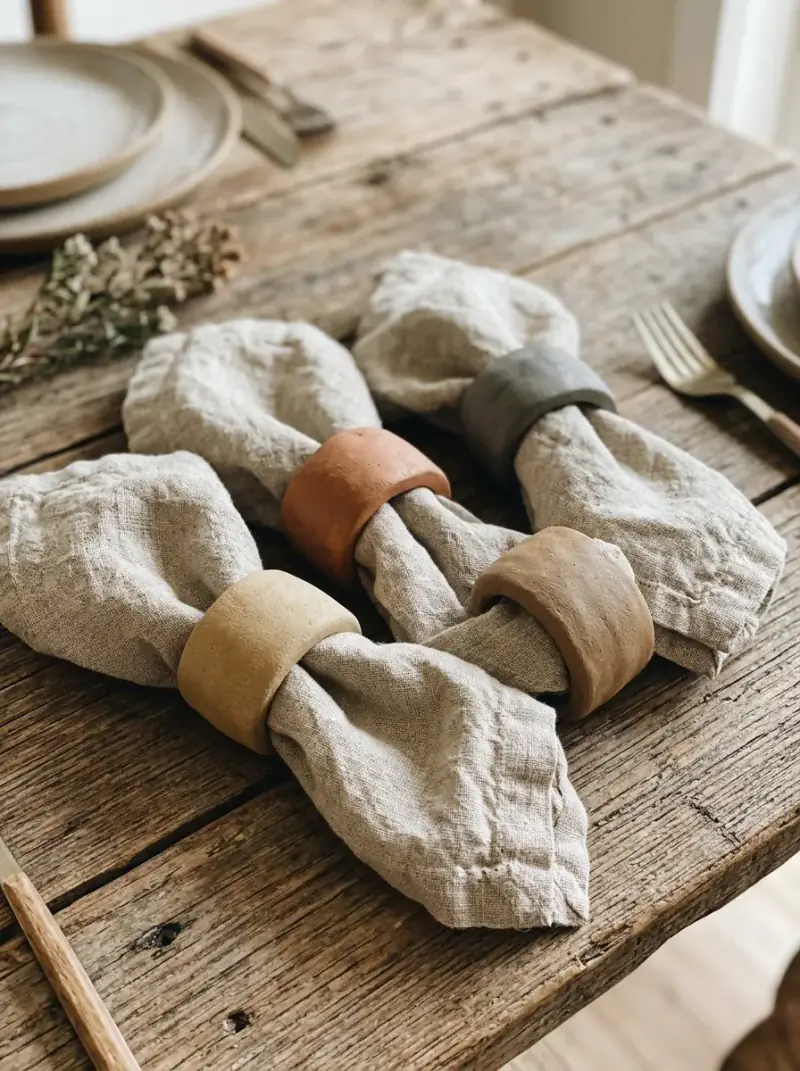
Cut long strips of clay and wrap them around a cylindrical object like a marker to form circular bands. Smooth the joined ends carefully.
Paint the napkin rings to match your seasonal dining table colors. They elevate everyday meals instantly.
21. Textured Pillar Candle Tray
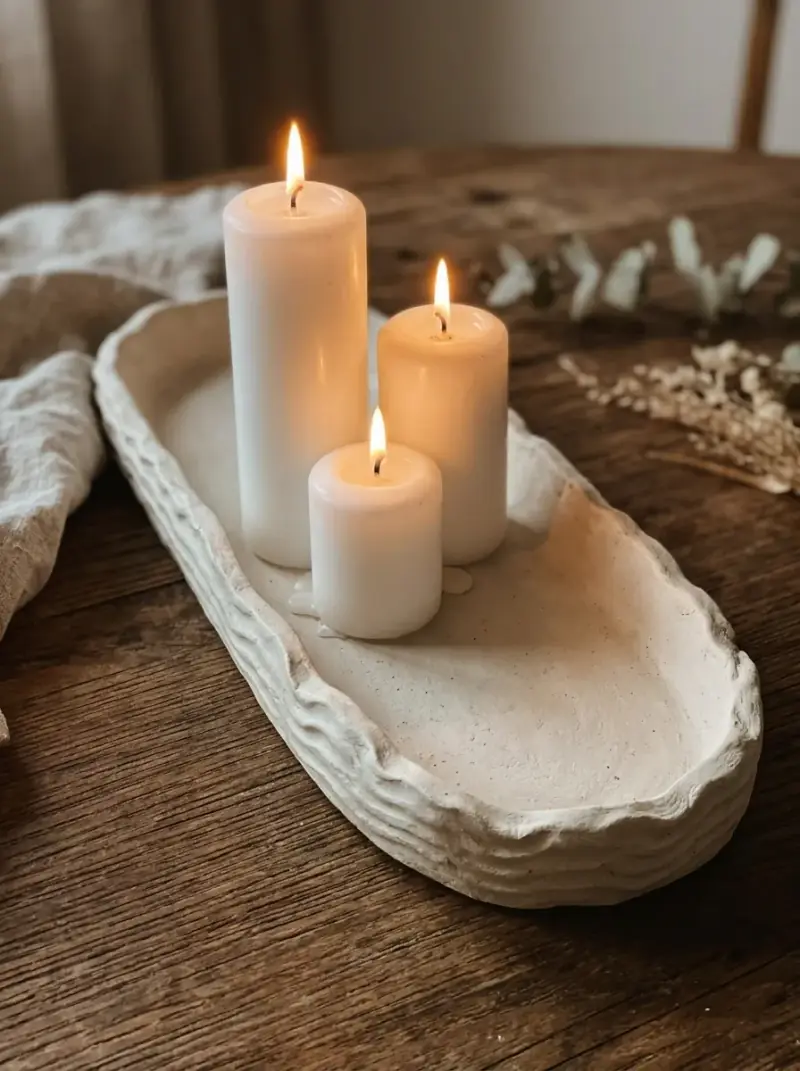
Roll out a wide oval slab of clay. Pinch and flute the outer edges to create a ruffled, decorative border.
Let the tray dry completely on a flat surface to prevent warping. Use it as a gorgeous centerpiece for your dining table.
22. Pocket-Sized Worry Stone
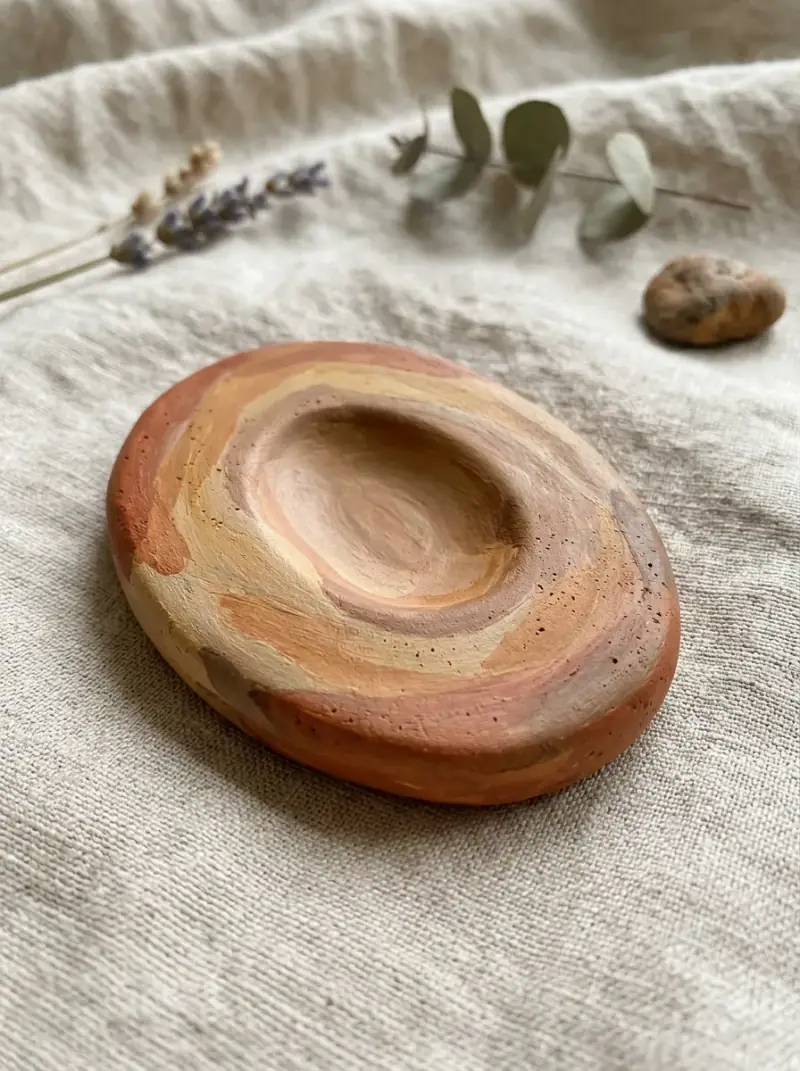
Roll a small, comfortable oval shape in the palm of your hand. Press your thumb firmly into the center to create a smooth resting indentation.
Paint the stone with comforting colors and seal it thoroughly. Keep it in your pocket for a calming tactile distraction.
23. Mini Jewelry Dish with Gold Rim
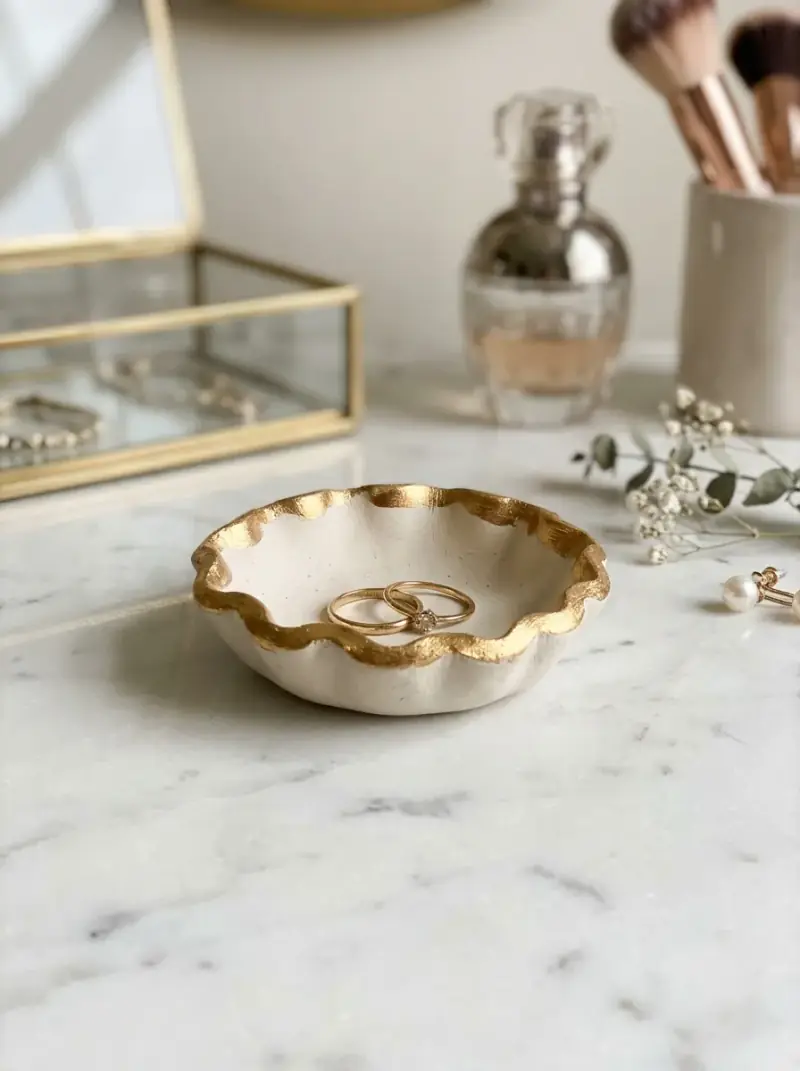
Press small pinches of clay around the edges to create a pretty ruffled pattern. Shape the center into a tiny bowl for stud earrings.
Paint the textured edge with liquid gold leafing paint for an upscale finish. This project takes less than an hour of active work.
24. Seasonal Pumpkin Place Card Holders
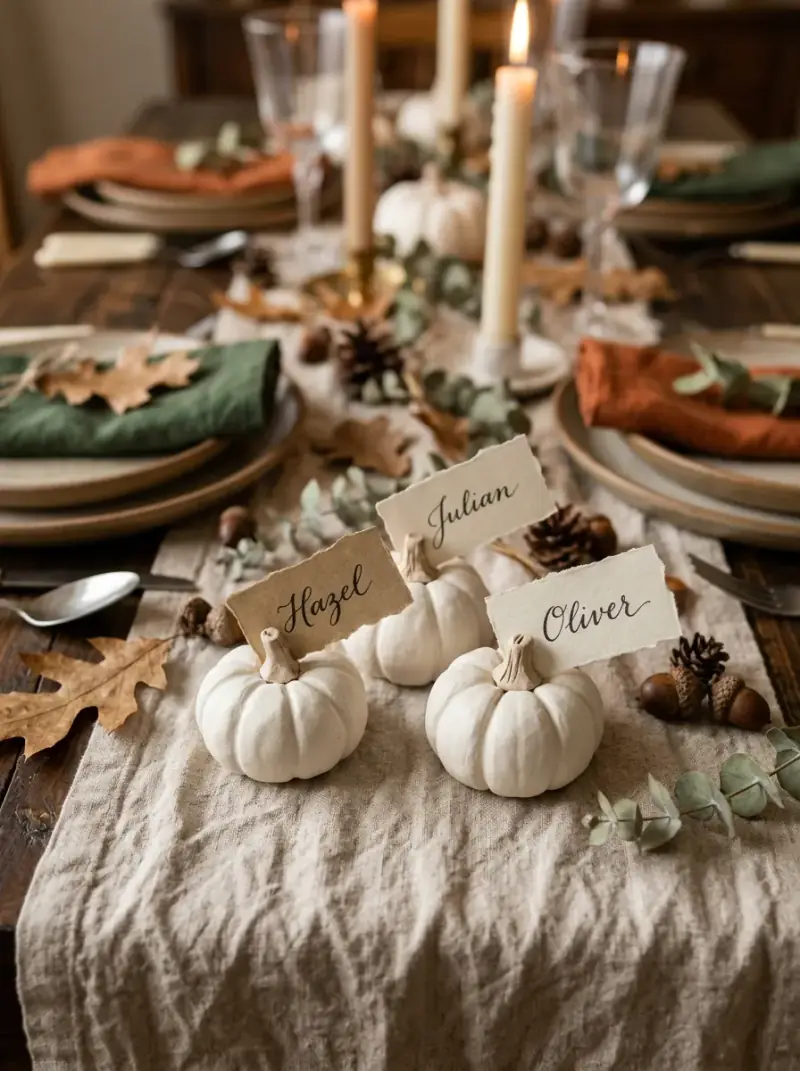
Roll small balls of clay and use a piece of string to indent vertical lines around each pumpkin. Add a tiny twisted stem to the top.
Cut a small horizontal slit into the stem while wet to hold place cards. Paint them in soft ivory and sage tones for autumn gatherings.
Essential Tips for Working with Air Dry Clay
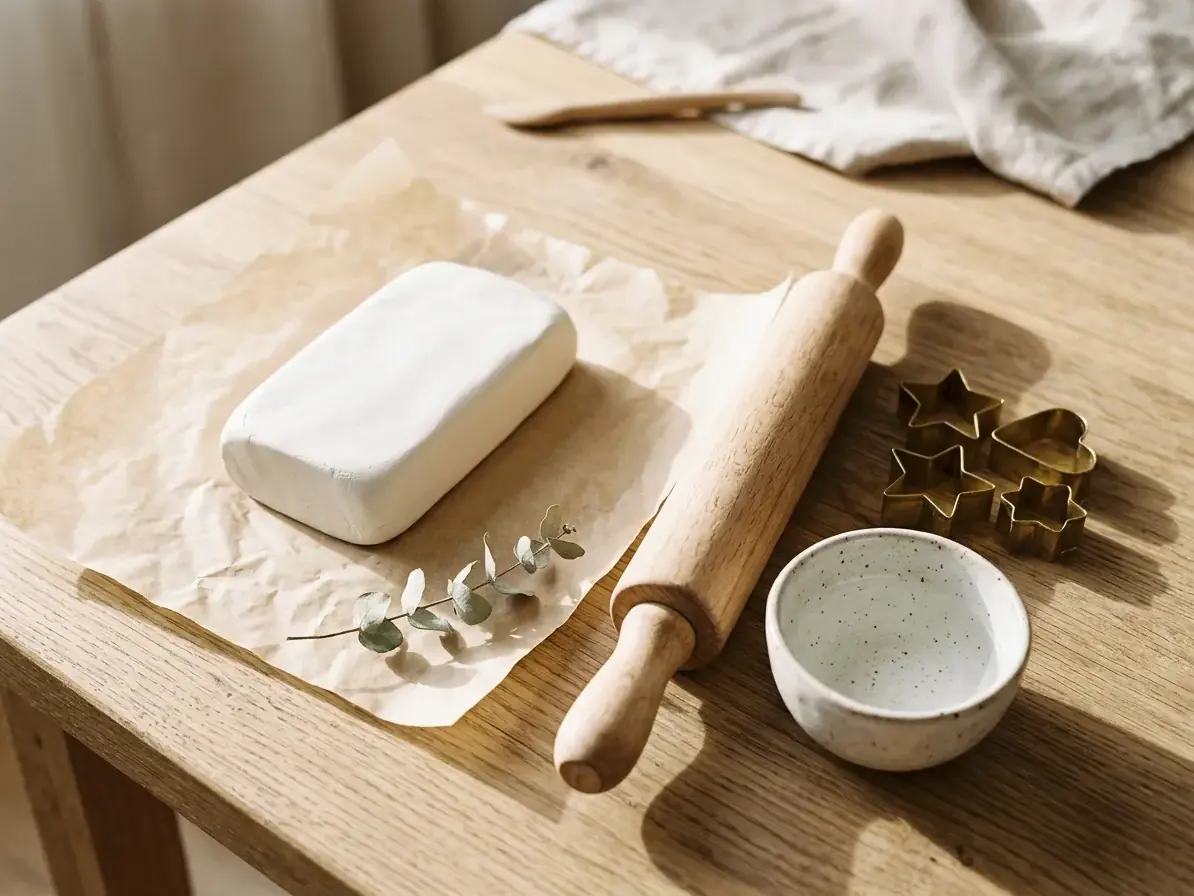
Air-dry clay is forgiving, but a few simple habits make crafting much easier. Always keep a small bowl of water nearby to smooth out surface cracks with your fingertips.
Roll your clay evenly on parchment paper to prevent sticking to your work surface. Allow your finished projects to dry slowly by flipping them halfway through the drying time to ensure airflow underneath.
Frequently Asked Questions
Do I need to bake air-dry clay in an oven?
No, air-dry clay hardens naturally when left out at room temperature. Never place air-dry clay in a standard kitchen oven or kiln, as it may crack or warp.
How long does air-dry clay take to dry?
Most projects dry completely within 24 to 48 hours depending on thickness and room humidity. Thicker pieces require extra time for the interior moisture to evaporate.
How can I make my air-dry clay waterproof?
Seal your completely dry project with a waterproof varnish, acrylic sealer, or Mod Podge. This protects the clay from moisture, though submerged use is still not recommended.
Start Your Next Craft Project
Creating handmade decor and gifts with air-dry clay is a wonderful way to unwind and express your personal style. Pick your favorite idea, gather your basic supplies, and start crafting today.
Explore more DIY ideas on CraftedMode and find your next creative project.
Keep exploring CraftedMode for more easy DIY crafts, air dry clay crafts, home decor ideas, and handmade gift ideas.